
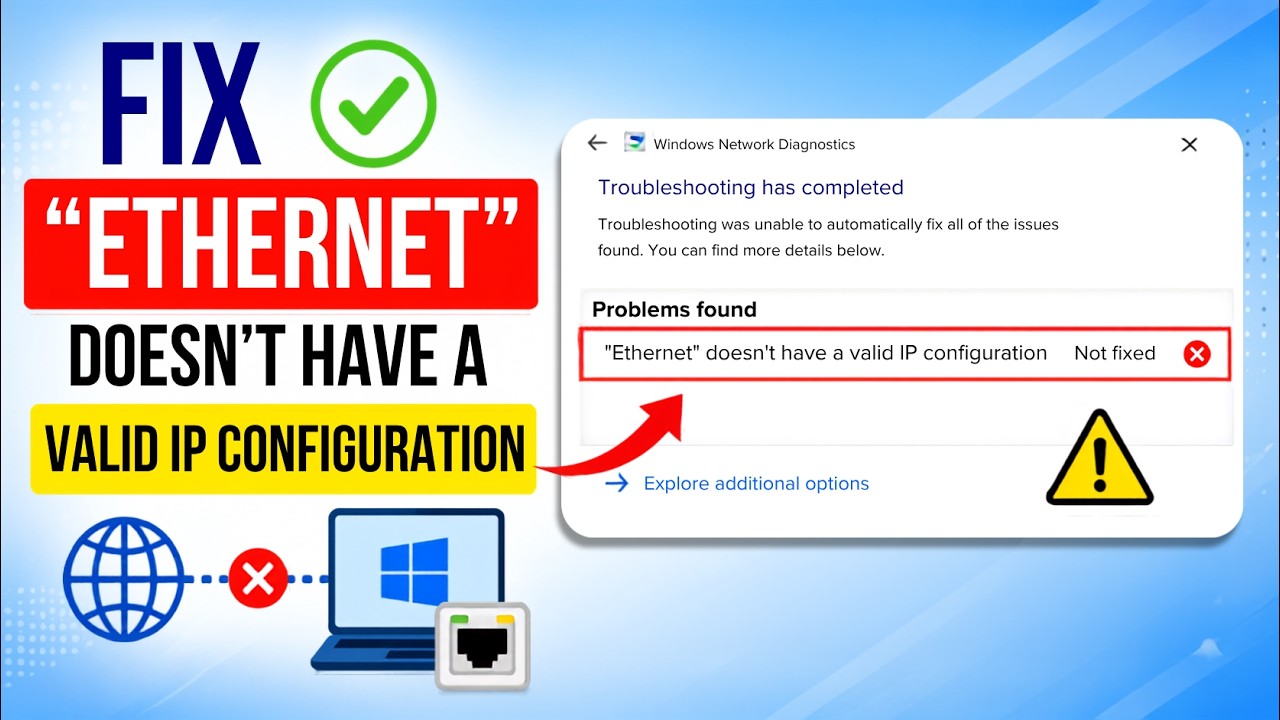
How to Fix "Ethernet Doesn't Have a Valid IP Configuration" in Windows 11 & Windows 10
Seeing the "Ethernet doesn't have a valid IP configuration" or "Unidentified Network" notification after plugging in your LAN cable? This error indicates that your computer and router have encountered a DHCP negotiation breakdown, leaving Windows assigned to a dead-end auto-configuration address (such as 169.254.x.x). In this comprehensive guide from Tech Mash, we will walk you through 5 tested solutions to restore your network connectivity without needing to reinstall your operating system.
⚡ Quick Resources & Shortcuts
YouTube Viewer ShortcutArrived from our YouTube video? Here is the quick-reference cheat sheet for this walkthrough:
Network Reset Commands (Run as Administrator):
netsh winsock reset
netsh int ip reset
ipconfig /release
ipconfig /renew
ipconfig /flushdns
📍 Quick Run Box Shortcuts:
ncpa.cpl— Open Network Connections managerdevmgmt.msc— Open Device Manager for network adapter driverspowercfg.cpl— Open Power Options to toggle Fast Startup
Why Does This Error Happen?
Your home router relies on Dynamic Host Configuration Protocol (DHCP) to automatically hand out local IP addresses, default gateways, and DNS records to connected devices. When this communication is interrupted—by an out-of-sync network stack, corrupted network drivers, or third-party interference—Windows fails to acquire an IP lease. Let's resolve this step by step.
Fix 1: Force Automatic IPv4 and DNS Settings
Often, a static IP or an outdated DNS configuration remains stuck inside your network adapter settings, preventing Windows from requesting a clean IP from your router.
- Press Win + R on your keyboard to open the Run prompt.
- Type
ncpa.cpland press Enter. This opens the Network Connections panel. - Right-click on your active Ethernet adapter and select Properties.
- In the list, select Internet Protocol Version 4 (TCP/IPv4) and click the Properties button below it.
- Ensure both "Obtain an IP address automatically" and "Obtain DNS server address automatically" are selected.
- Click OK, then click OK again on the adapter properties window.
- Right-click your Ethernet adapter, select Disable, wait 5 seconds, and then click Enable to refresh the connection.
Fix 2: Reset Network Cache & Flush DNS via Command Prompt
Corrupted TCP/IP parameters and Winsock sockets are common culprits for DHCP failures. You can completely flush and rebuild these components using administrative terminal commands:
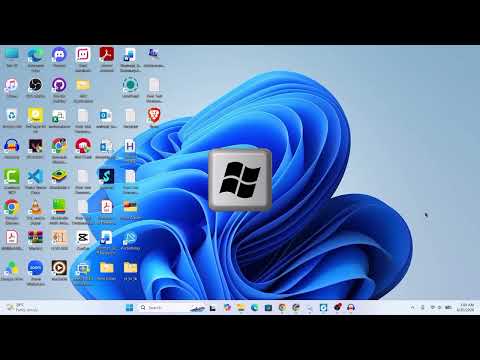
- Click the Start button or press the Windows key, then search for cmd.
- Right-click on Command Prompt and select Run as administrator.
- Type each of the following commands one by one, pressing Enter after each:
netsh winsock reset— Resets the Windows socket catalog to default configuration.netsh int ip reset— Rewrites core TCP/IP registry values.ipconfig /release— Drops your current (invalid) IP assignment.ipconfig /renew— Requests a brand-new IP lease directly from your router.ipconfig /flushdns— Clears the local name resolution cache.
- Restart your computer to finalize the network stack rebuild.
Fix 3: Reinstall Network Adapter Drivers (Offline Method)
If your network driver is glitching, you do not need internet access to reinstall it. Windows stores functional backup driver packages locally on your hard drive:
- Right-click the Start button and select Device Manager (or press Win + R, type
devmgmt.msc, and press Enter). - Expand the Network adapters branch.
- Locate your physical controller (typically labeled Realtek PCIe Family Controller, Intel Ethernet Connection, or similar).
- Right-click the adapter and select Uninstall device.
- Important: Leave the checkbox that says "Attempt to remove the driver for this device" UNCHECKED. Click Uninstall.
- From the top menu bar, click Action → Scan for hardware changes. Windows will immediately detect the Ethernet card and install a clean local driver