
How to Fix "DNS Server Not Responding" on Windows 11, 10, and 7 (Wi-Fi & Ethernet)
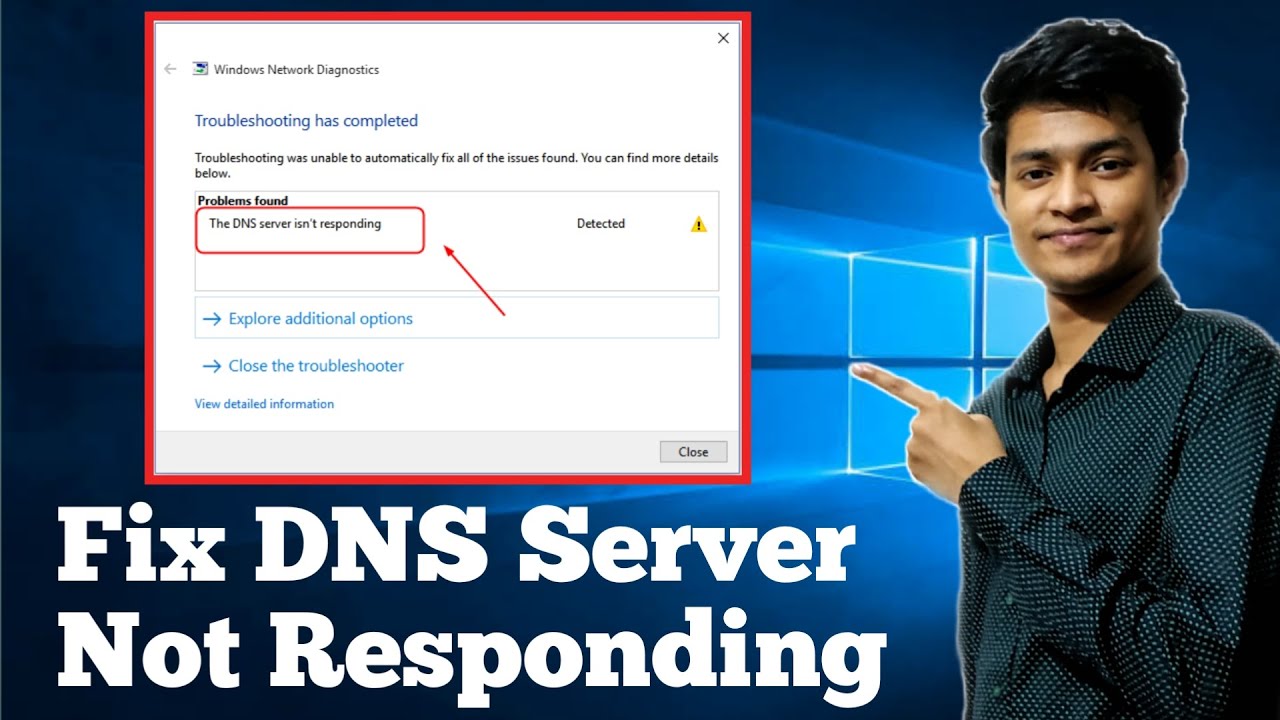
A DNS (Domain Name System) server translates human-readable web addresses into computer-friendly IP addresses. When your DNS server stops responding, your browser loses the map it needs to locate websites, cutting off web access entirely even if your device remains connected to your local network. This guide covers how to switch to ultra-reliable public DNS servers and completely flush your network stack to get back online fast.
⚡ Quick Resources & Shortcuts
YouTube Viewer ShortcutArrived from our YouTube video? Here is the quick-reference cheat sheet for this walkthrough:
ipconfig /flushdns

ipconfig /registerdns

ipconfig /release

ipconfig /renew

netsh winsock reset catalog

netsh int ipv4 reset reset.log

netsh int ipv6 reset reset.log
📍 Quick Click Path: Win + R → ncpa.cpl → Right-click Adapter → Properties → IPv4 Properties
- Preferred Google DNS: 8.8.8.8
- Alternate Google DNS: 8.8.4.4
- Cloudflare Alternative: 1.1.1.1 (Primary) / 1.0.0.1 (Secondary)
Step 1: Check Your Current DNS Configuration
Before applying fixes, confirm which DNS server your PC is actively using and identify the active network adapter.
- Press Windows Key + R, type
cmd, and press Enter. - In the command window, type
ipconfig /alland press Enter. - Scroll to your active adapter (e.g., Wireless LAN adapter Wi-Fi or Ethernet adapter) and check the DNS Servers line to see if it is pointing to your router gateway or a specific ISP address that has gone offline.

Step 2: Switch to Google Public DNS
Default ISP-provided DNS servers frequently experience downtime or routing hiccups. Switching your adapter to a globally distributed DNS provider like Google solves this instantly.
- Press Windows Key + R, type
ncpa.cpl, and click OK to open Network Connections. - Right-click your active connection (Wi-Fi or Ethernet) and select Properties.
- In the list, select Internet Protocol Version 4 (TCP/IPv4), then click the Properties button below it.
- Choose the radio button labeled Use the following DNS server addresses.
- Enter
8.8.8.8into the Preferred DNS server field and8.8.4.4into the Alternate DNS server field. - Click OK on both windows to apply the settings.
Step 3: Flush DNS and Reset TCP/IP Stack
Corrupted DNS cache entries or an unstable Winsock catalog can keep throwing the "DNS Server Not Responding" error even after changing your server address. Clear out bad network state data through an elevated terminal:
- Press Windows Key + S, type
cmd, right-click Command Prompt, and select Run as administrator. (On Windows 8/10, you can also press Win + X and select Command Prompt (Admin)). - Execute the following commands one by one, pressing Enter after each:
ipconfig /flushdns– Purges any corrupt or outdated DNS cache.ipconfig /registerdns– Refreshes all DHCP leases and re-registers DNS names.ipconfig /release– Drops your current local IP assignment.ipconfig /renew– Requests a fresh IP address from your router.netsh winsock reset catalog– Restores network socket configurations.netsh int ipv4 reset reset.log– Resets the IPv4 stack to factory settings.netsh int ipv6 reset reset.log– Resets the IPv6 stack.
- Type
exitand press Enter to close the terminal.
Step 4: Restart Your PC and Router
To finalize all stack resets and purge stale NAT routing tables, complete a full reboot cycle:
- Restart your Windows computer so the Winsock and IP stack resets initialize completely.
- Unplug your router/modem from its power outlet, wait 30 seconds, and plug it back in.
- Once the connection lights normalize, reopen your web browser and navigate to any website to verify that the DNS error is resolved.