
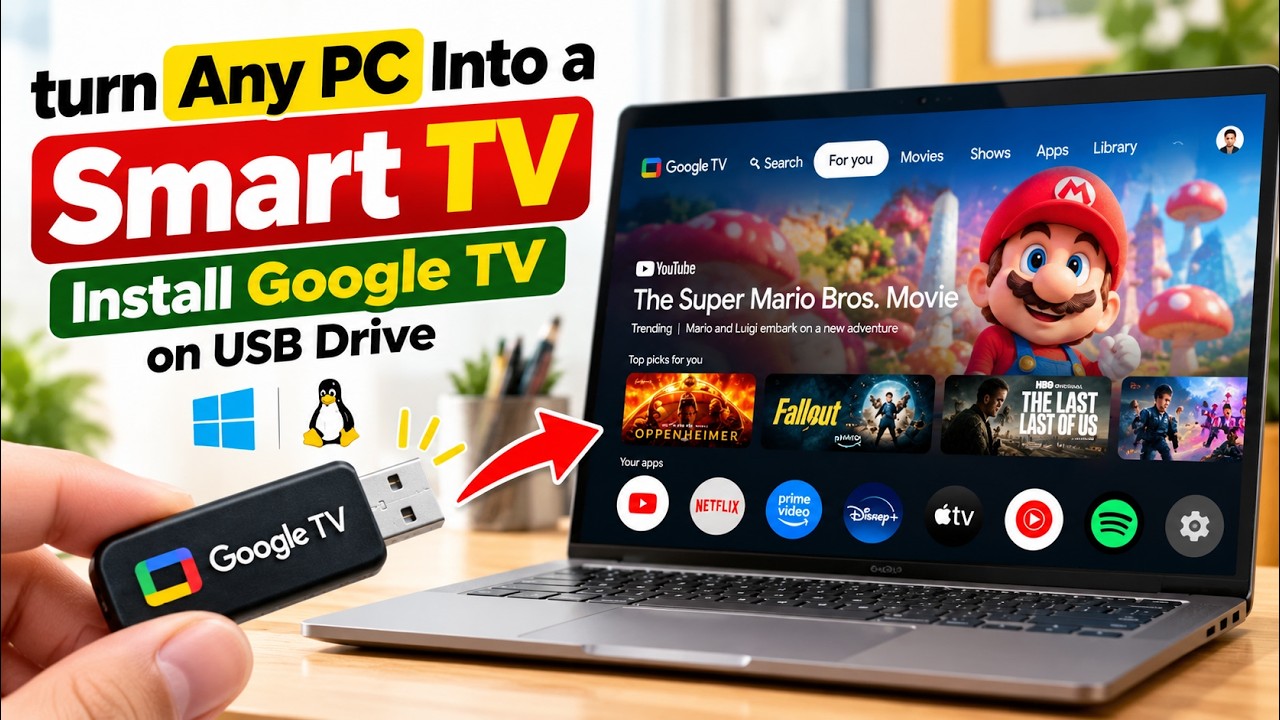
How to Install Google TV 13 on a USB Pen Drive (Run Smart TV on Any PC)
Turn any spare Windows laptop, desktop, or aging PC into a fast, portable Google TV box without touching your internal hard drive or altering your existing Windows setup. In this comprehensive guide from Tech Mash, learn how to flash Google TV 13 onto a bootable pen drive, unlock expanded storage for all your streaming apps, and boot directly into Android TV.
⚡ Quick Resources & Shortcuts
YouTube Viewer ShortcutArrived from our YouTube video? Here is the quick-reference cheat sheet for this walkthrough:
📍 Quick Workflow: Download Files → Rufus (Flash Image) → Replace Storage Image (data.img) → Disable Secure Boot → Boot from USB
Download Links & References:
- Rufus Flashing Tool: Download Rufus Official
- Google TV 13 Package & Storage Expansion Files: Google Drive Download
- Secure Boot Disabling Tutorial: Tech Mash Secure Boot Guide
Hardware Requirements
- USB Flash Drive: At least 16 GB capacity (a fast USB 3.0 or 3.1 drive is strongly recommended for smooth 4K playback and snappy UI response).
- Target Computer: A 64-bit Intel or AMD processor with UEFI boot support.
- Stable Internet: Wi-Fi or Ethernet connection to set up your Google account and download streaming apps.
Step 1: Download & Extract the Google TV Package
First, download the required files via the links in the Quick Resources box above. The package contains the custom Android TV x86 image and pre-configured persistent storage containers.
- Locate the downloaded archive (
Google TV 13 Package.zip) on your computer. - Right-click the ZIP archive and extract it using Windows built-in extractor, 7-Zip, or WinRAR.
- Inside the extracted folder, verify you have the Google TV system image file (
.imgor.iso) and the storage file templates.
Step 2: Create a Bootable USB with Rufus
We will use Rufus to write the operating system image cleanly to your USB flash drive.
- Insert your USB pen drive into your PC. (Note: All data on this USB drive will be erased.)
- Launch Rufus as an administrator.
- Under Device, select your target USB flash drive.
- Under Boot selection, click SELECT and browse to choose the extracted Google TV image.
- Keep the default partition scheme (GPT or MBR depending on your target system's BIOS mode; GPT is recommended for modern UEFI PCs).
- Click START. If prompted with an image writing prompt, choose the recommended mode and confirm by clicking OK to format and flash the drive.
- Wait until the progress bar reaches 100% and displays READY. Close Rufus.
Step 3 & 4: Fix the Storage Limit & Expand Persistent Data
By default, standard bootable Android images partition the persistent storage (data.img) to a restrictive size (often just 2 GB), preventing you from installing multiple large streaming apps or games. We need to replace the default storage file with our expanded storage container.