
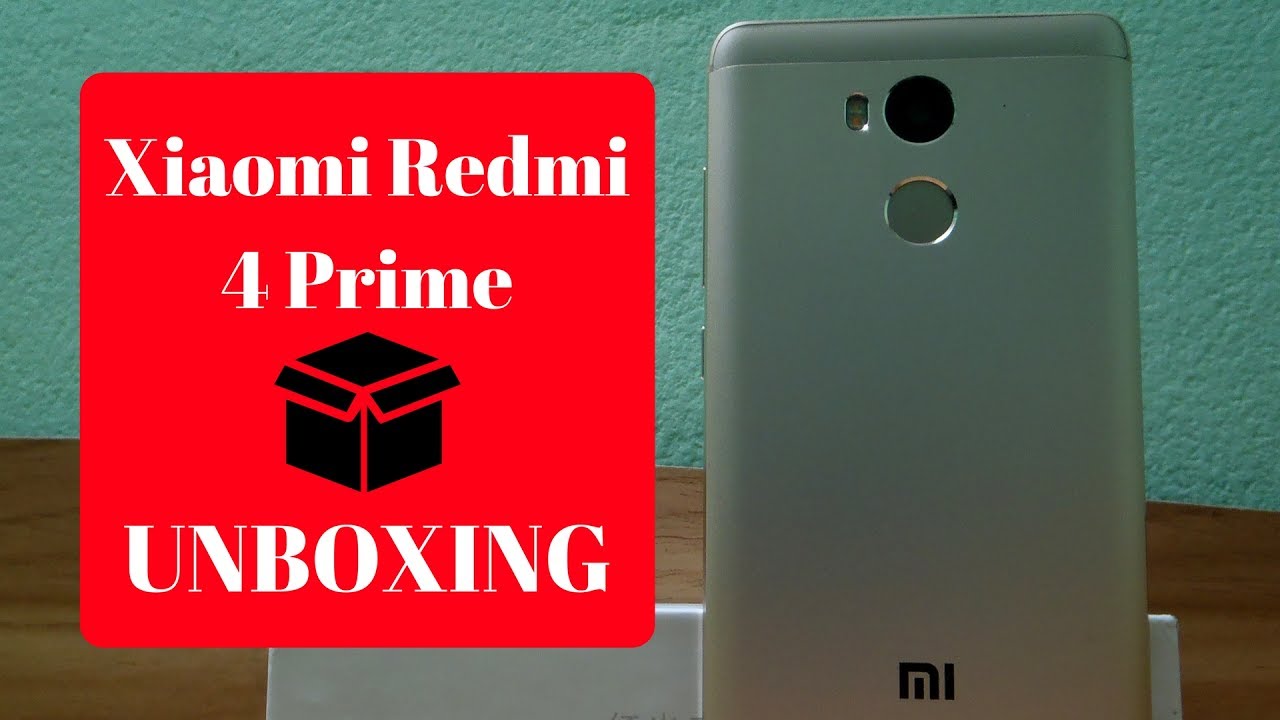
Welcome to this hands-on unboxing and initial setup guide for the Xiaomi Redmi 4 Prime from Tech Mash. Powered by the efficient Qualcomm Snapdragon 625 octa-core processor and equipped with a 4100mAh battery, this guide walks you through the unboxing, physical inspection, accessory setup, and initial boot routine.
⚡ Quick Resources & Shortcuts
YouTube Viewer ShortcutArrived from our YouTube video? Here is the quick-reference cheat sheet for this walkthrough:
📍 Quick Click Path: Unbox → Remove Protective Films → Insert SIM Tray → Power Button (Hold 3s) → MIUI 8 Setup Wizard
- Core Hardware: Qualcomm Snapdragon 625, 3GB RAM, 32GB Internal Storage
- Display: 5.0″ 1920 x 1080 Full HD IPS LCD
- Battery: 4100mAh Li-Po
- Included in Box: Xiaomi Redmi 4 Prime, Standard USB Power Adapter, MicroUSB 2.0 Cable, SIM Ejector Tool
Step 1: Unboxing and Packaging Inspection
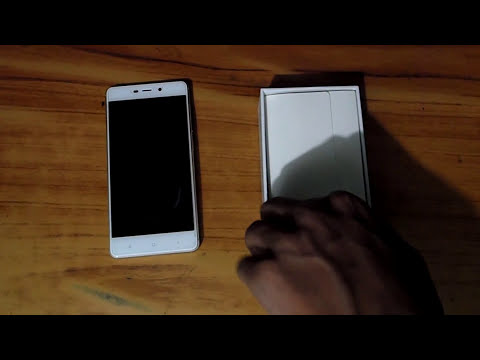
The packaging features a minimalist white presentation box standard across recent Xiaomi models like the Mi5s and Mi Note 2.
- Place the box on a clean, flat surface and slide off the top lid.
- Lift the Redmi 4 Prime unit from the top tray.
- Peel off the factory protective transport films from the front display glass and rear aluminum casing.
Step 2: Accessory Verification and Cable Preparation
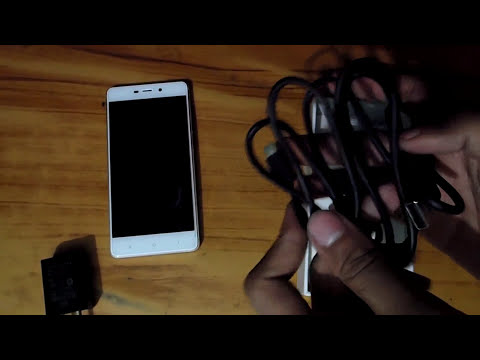
Verify that all included charging peripherals are present inside the lower compartments.
- Remove the cardboard tray partition underneath the phone cradle.
- Extract the included wall charging plug.
- Unwrap the bundled MicroUSB 2.0 data and charging cable.
- Locate the documentation packet containing the SIM tray ejection pin.
Step 3: Hardware Check and SIM Card Installation
Inspect the chamfered metal build and install your network SIM card before booting.
- Inspect the polished chamfered edges, rear fingerprint reader, and rear 13MP sensor for any factory defects.
- Insert the SIM ejector tool into the pinhole on the left frame of the device.
- Firmly press until the hybrid dual-SIM tray pops out.
- Place your Nano-SIM or Micro-SIM (and optional MicroSD card) into the dedicated tray slot.
- Slide the tray back into the frame until it sits completely flush with the metal body.
Step 4: Initial Boot and MIUI 8 Setup
Initialize the operating system to configure regional network settings and display calibration.
- Press and hold the Power button on the right-hand edge for 3 seconds until the device vibrates and displays the "Mi" boot logo.
- On the welcome screen, select your preferred language and tap the next arrow.
- Select your region to configure network APN settings automatically.
- Connect to your local Wi-Fi network and sign in with your Google or Mi Account to complete the setup process.
Summary & Key Takeaways
The Xiaomi Redmi 4 Prime stands out in its price bracket thanks to its high-grade metal unibody machining, crisp 1080p display, and the power-efficient Qualcomm Snapdragon 625 platform. Paired with a generous 4100mAh battery, it provides exceptional multi-day endurance and dependable daily performance straight out of the box.