
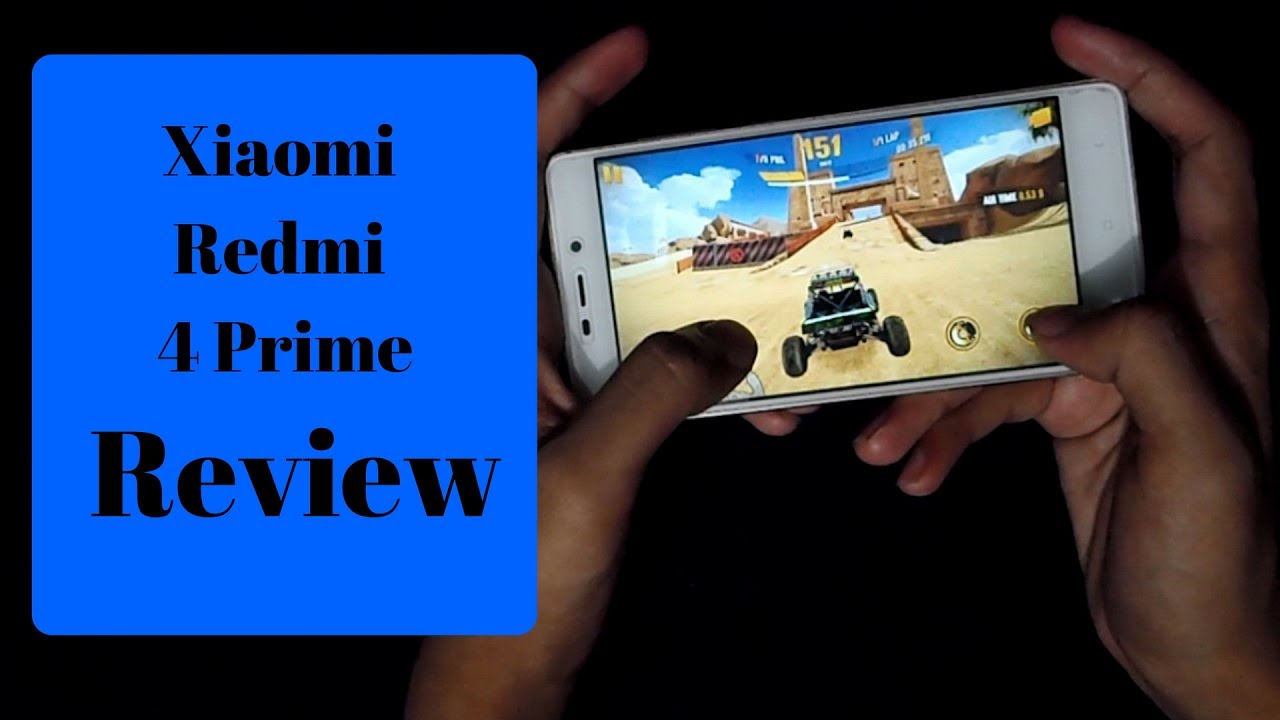
The Xiaomi Redmi 4 Prime packs a massive 4,100 mAh battery, a sharp 1080p display, and an efficient Snapdragon 625 processor into an ultra-budget metal chassis. If you imported this device from China, this practical setup guide walks you through configuring English UI settings, installing essential Google services, setting up MIUI 8 Dual Apps, and tuning display and camera performance.
⚡ Quick Resources & Shortcuts
YouTube Viewer ShortcutArrived from our YouTube video? Here is the quick-reference cheat sheet for this walkthrough:
📍 Quick Click Path (Language): Settings → Additional settings → Languages & input → English (United States)
📍 Quick Click Path (Dual Apps): Settings → Dual apps → Select App → Toggle On
📍 Quick Click Path (Second Space): Settings → Second space → Turn on Second space
- Google Installer APK (MIUI 8 compatible)
- Mi PC Suite / Xiaomi Android USB Drivers
Step 1: Switch System Language and Configure Regional Time
Out of the box, China ROM versions default to Mandarin, but full English system localization is natively included in MIUI 8.
- Open the Settings app (look for the grey gear icon).
- Scroll down to the second major group and tap Additional settings (indicated by the three dots icon
...). - Tap the second option from the top: Languages & input.
- Tap the top option (Language) and select English (United States).
- Return to Additional settings → tap Date & time → toggle on Automatic time zone to align network clocks.
Step 2: Install Google Play Services and Disable Bloatware
China-market devices do not include Google Play Services by default; you must install the Google framework to run standard Android apps.
- Open the stock Mi App Store.
- Search for
Googlein the search bar and scroll down to the Baidu search icon at the bottom of the results. - Locate and download the Google Installer utility (often represented by a red/blue circle icon).
- Launch the Google Installer app and tap the blue Install button to install Google Services Framework, Account Manager, Google Play Services, and Google Play Store sequentially.
- Reboot the phone, open the Google Play Store, and sign in with your Google account.
- Go to Settings → Installed apps → select non-essential Chinese carrier and media apps, then tap Uninstall or Disable.
Step 3: Enable MIUI 8 Dual Apps and Second Space
MIUI 8 allows you to clone messaging accounts and maintain completely separate work and personal environments on the same device.
- Open Settings and scroll to the App Settings section.
- Tap Dual apps.
- Toggle the switch next to any compatible app (e.g., WhatsApp, Facebook, or Messenger). A secondary cloned icon will appear on your home screen with a small yellow badge.
- Go back to Settings and tap Second space.
- Tap Turn on Second space, set a unique PIN or fingerprint, and use the Switch shortcut on your home screen to toggle between profiles.
Step 4: Optimize Display, Camera, and Battery Settings
Fine-tune the 1080p panel and the 13MP camera sensor to get the most balanced visual output and maximum battery longevity.
- Open Settings → Display → Colors & contrast.
- Select Standard contrast to correct oversaturated whites, or Cool if you prefer cleaner daylight readability.
- Open the stock Camera app → swipe right to open shooting modes → tap the Settings gear in the corner.
- Set Picture quality to High and toggle Contrast to Higher to offset the conservative default processing.
- Enable HDR mode from the main viewfinder toggle for high-contrast scenes to expand dynamic range.
Final Takeaway
The Xiaomi Redmi 4 Prime offers remarkable value for its $130 price point. Once you switch the system language, install the Google framework, and take advantage of MIUI 8's built-in multi-user features, the device delivers a polished, snappy daily experience with class-leading 4,100 mAh battery endurance.